 how-to
Best Way to Proof Custom Glassware Before Ordering
Table of Contents
- Why the Proofing Stage Decides Your Glassware Quality
- Digital Proofs vs Physical Samples: What Each One Confirms
- Glassware Printing vs Engraving Durability: What Your Proof Must Show
- How to Check Logo Alignment on Glassware
- What to Look For in Your Artwork Proof
- Custom Beer Glass Minimum Order Requirements and Proofing
- Common Proofing Mistakes That Ruin Custom Glassware
- Your Proofing Checklist Before You Approve Production
- Frequently Asked Questions
Last Updated: September 6, 2026
Approving a proof is the single point where a custom glassware order either locks in a flawless brand asset or commits you to a batch of expensive mistakes. The best way to proof custom glassware is to verify three distinct things before you authorise production: the artwork accuracy, the placement of that artwork on the physical glass, and the durability of the decoration method itself. Most buyers only check the first item.
Why the Proofing Stage Decides Your Glassware Quality
A proof is a technical specification confirming colour, dimensions, file resolution, and how the artwork interacts with the curved glass surface. Approving it without scrutiny transfers all responsibility for errors onto you.
Digital Proofs vs Physical Samples: What Each One Confirms
A digital proof confirms the artwork file is correct, while a physical sample confirms how that artwork behaves on real glass. They serve different purposes, and neither fully replaces the other.
Digital proofs are essential for checking colour accuracy, font rendering, and layout. They are fast and inexpensive, but cannot show how light refracts through an etched area or how a printed design reacts to the glass curve.
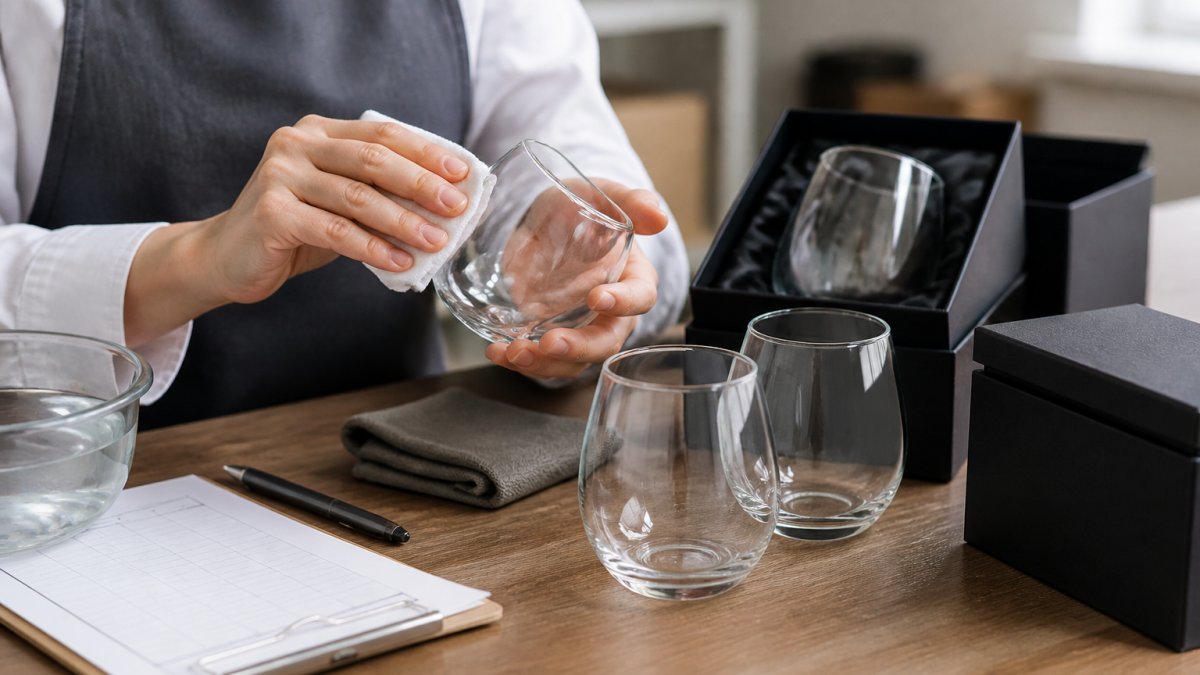
Physical samples are the only way to verify tactile quality, letting you run the glass through a commercial dishwasher and scratch-test the surface. For large corporate orders, the sample cost is negligible compared to a rejected batch.
| Proof Type | What It Confirms | Best Used For |
|---|---|---|
| Digital Proof | Artwork accuracy, colours, layout | Initial approval before production |
| Physical Sample | Durability, finish, logo placement on curved glass | Large orders, new decoration methods |
| Combined Approach | Full verification of design and production quality | Premium corporate and hospitality orders |
Glassware Printing vs Engraving Durability: What Your Proof Must Show
The durability difference between printing and engraving is the most important factor your proof must clarify. Etching and engraving physically alter the glass surface, creating a permanent mark. Printing applies a surface layer that can wear or scratch. The real-world difference comes down to each method's specific failure mode.
Etching and engraving (including sandblasting and laser engraving) disrupt the glass surface. Sandblasting propels abrasive particles to erode the glass into a frosted, recessed design. Laser engraving uses heat to micro-fracture the glass, producing a lighter, rougher effect. Neither relies on a coating, so there is nothing to peel or degrade, and the design will not fade or wash off. However, the rougher surface can accumulate mineral deposits in hard-water areas; a soak in white vinegar diluted 1:4 with water restores the appearance.
Screen printing and UV printing apply a layer to the glass surface. Screen printing uses a mesh stencil to push ceramic enamel or organic ink onto the glass. Ceramic enamels contain glass frit that melts and fuses with the glass when fired at 580°C-650°C, creating a highly durable, dishwasher-safe design (ceramics.org). Organic inks cure at lower temperatures and remain a polymer film; they are cheaper and brighter but vulnerable to scratching and commercial dishwasher degradation. UV printing cures ink with ultraviolet light, offering excellent vibrancy and detail, but the cured ink remains a surface layer that typically shows edge wear after 200-400 residential dishwasher cycles, whereas fired enamel outlasts the glass (peer-reviewed research).
Your proof should state the decoration method and specify the ink or enamel type. If it says 'printed' without specifying 'ceramic enamel' or 'organic ink', ask for clarification, this detail determines whether your glassware survives commercial washing.
What your proof must show for durability:
- The exact decoration method (sandblasting, laser engraving, screen printing with fired enamel, screen printing with organic ink, or UV printing)
- The specific ink or enamel type if printing is used
- A statement on dishwasher safety, specifying whether the design is rated for residential or commercial dishwashers
- For printed methods, the recommended maximum wash temperature and whether abrasive detergents are safe
- For etched methods, any special cleaning instructions to prevent mineral buildup in the frosted areas
If the proof does not include these details, request a revised proof before approving. A proof that omits durability specifications is not a complete technical document, it is a marketing mockup.
How to Check Logo Alignment on Glassware
Logo alignment is checked by comparing the proof's placement markers against the physical dimensions of your selected glass style. This is a precise measurement task, not a visual guess. A misaligned logo is the most common cause of dead stock and is entirely preventable.
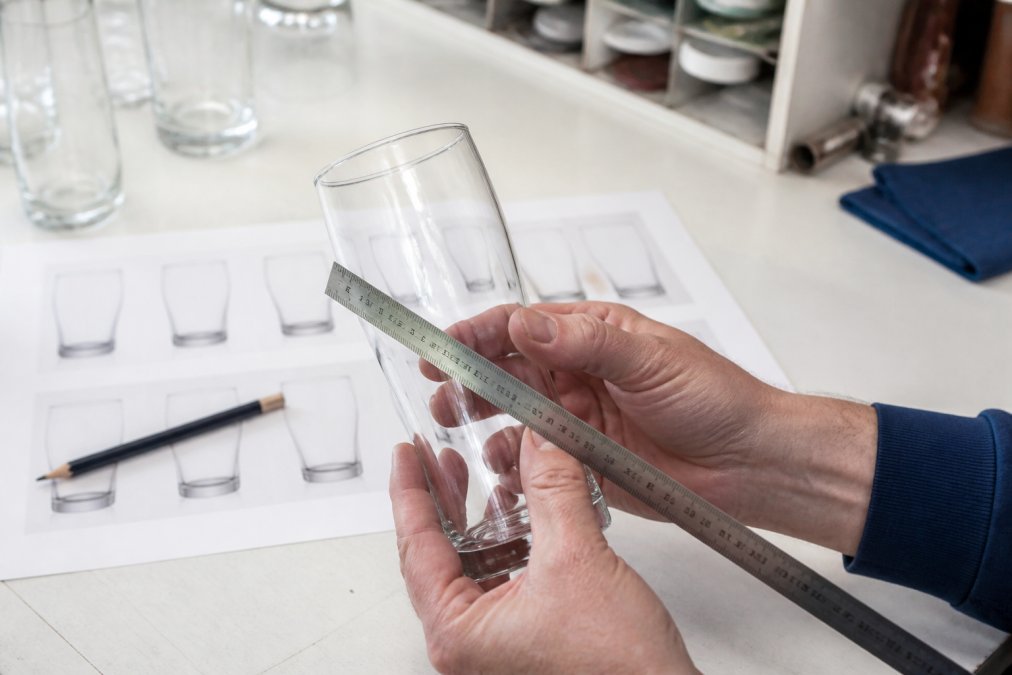
Step 1: Establish your reference points. Every glass style has standard points: the rim, base, stem, and handle. Your proof should show the logo's position relative to at least two of these; if not, request a revised proof with dimension lines or a placement grid.
Step 2: Measure the vertical position. Use a digital calliper or steel ruler to measure from the glass base to the logo's bottom edge. A logo too low disappears behind a hand; too high looks unbalanced. For a standard pint glass, centre the logo between 35 mm and 50 mm from the base. For stemware, the logo sits on the bowl, measured from the bowl's bottom.
Step 3: Verify horizontal centring. On a curved glass, a design centred on a flat template may appear shifted when wrapped around. Ensure the proof shows the design on the actual glass silhouette. To verify, measure the circumference at the logo's vertical midpoint and divide by two to find the front centre; compare against the proof's marker. A tolerance of ±2 mm is acceptable (iso.org).
Step 4: Check the wrap-around behaviour. For designs extending around the glass, confirm the proof shows how the artwork behaves at the seam. Etching and engraving are continuous, but screen and UV printing can leave a visible overlap line. Ask your supplier whether the proof accounts for this.
Step 5: Use a physical template for curved surfaces. Create a paper template matching the glass curvature, wrap it around the sample, and mark the logo position with a soft pencil. This verifies the proof's flat representation translates to the 3D surface. Most suppliers provide templates on request for large orders.
Common alignment failures and how to spot them on the proof:
- Logo too close to the rim: The proof will show the design near the top edge of the glass silhouette. This looks unbalanced and risks the logo being partially obscured by the lip of the glass.
- Logo too close to the base: The proof will show the design near the bottom. This is common when the buyer assumes the logo should sit at the same height as on a flat template, without accounting for the glass's curved base.
- Off-centre on the front: The proof will show the design shifted to one side. This happens when the supplier uses a generic template rather than the specific glass style.
- Handle interference: For mugs and steins, the proof must show the logo position relative to the handle. A logo that is centred on the front of a mug may appear off-centre when the handle is on the right or left, depending on the glass's symmetry.
What to Look For in Your Artwork Proof
Your artwork proof must be checked for file resolution, colour accuracy, and font integrity, these determine whether the final product looks professional.
Low-resolution images are the most frequent issue. A logo sharp on a website will appear pixelated on a large glass surface. The proof should confirm the artwork meets the minimum resolution for the decoration method.
Colour accuracy matters most for printed methods; etching and engraving produce a single frosted tone. For screen and UV printing, the proof should show exact colours. If your brand colour is critical, request a physical colour sample before a large run.
Fonts are another common failure point. If your design includes text, confirm correct spelling, spacing, and font style. Typos on 500 glasses are a disaster.
Custom Beer Glass Minimum Order Requirements and Proofing
Custom beer glass minimum order requirements vary by supplier and decoration method, directly affecting your proofing strategy. Understanding them before requesting a proof saves time.
Some suppliers offer lower minimums for simpler methods like etching, while full-colour printing often requires larger quantities. The proofing process is identical regardless of order size, but mistakes cost proportionally more on small runs.
When reordering, your previous approved proof serves as the quality benchmark for colours and placement. A reputable supplier retains your artwork and proof records to match original production settings.
Common Proofing Mistakes That Ruin Custom Glassware
The most damaging proofing mistakes are approving without checking the glass shape, skipping the physical sample, and failing to verify decoration durability. Each leads to an unusable batch.
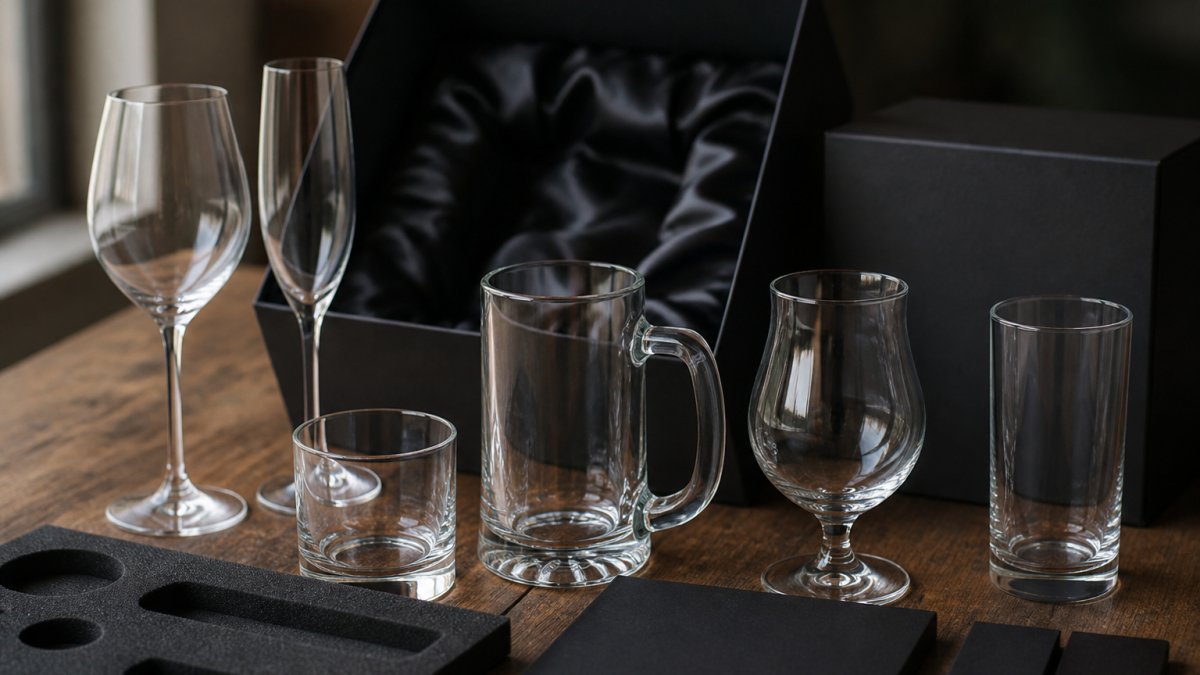
Approving a proof with the wrong glass shape is surprisingly common. A design for a straight-sided pint glass will not fit a tapered stein. Always confirm the proof shows the exact style and size you ordered.
Skipping the physical sample is a false economy. A digital proof cannot reveal a weak etch or a printed logo that scratches off. For repeated-use orders, the sample cost is insurance against full batch failure.
Failing to ask about dishwasher safety is another critical error. If glassware will be washed commercially, confirm the decoration method is rated for that environment.
Your Proofing Checklist Before You Approve Production
Before you approve any proof, work through this checklist to confirm every element is correct.
- Confirm the proof shows the exact glass style, size, and shape you ordered
- Verify logo placement measurements: distance from base, centring on the front
- Check artwork resolution is sharp and suitable for the decoration method
- Confirm colours match your brand specifications for printed methods
- Verify all text is spelled correctly and fonts are rendered accurately
- Confirm the decoration method matches your durability needs, especially dishwasher safety
- Request a physical sample for large orders or new decoration methods
- Confirm minimum order quantities and production timelines before approving
- Retain a copy of the approved proof for future reorders
Working through this list takes minutes but prevents costly errors. Treat the proof as a binding contract detailing every specification that matters for your final product.
Getting custom glassware right comes down to preparation and verification. The proofing process is your safeguard against dead stock, disappointed clients, and wasted budget. At The Glassware Company, we provide detailed proofs for every order, backed by our expertise in etching and engraving across a large range of glass styles. Our professional team ensures your artwork is on point before anything goes into production. Request an online quote and let us help you create custom glassware that makes a lasting impression.
Frequently Asked Questions
What is a digital proof in custom glassware manufacturing?
A digital proof is a two-dimensional preview of your artwork as it will appear on your chosen glassware style. It shows logo placement, sizing, and the etching or printing method. Suppliers send this for your approval before production begins. Review it carefully: check orientation, text spelling, and that the design fits the glass shape. A digital proof confirms intent, but it cannot show how the finish will look on curved glass in real light.
Why is a physical sample important for custom glassware?
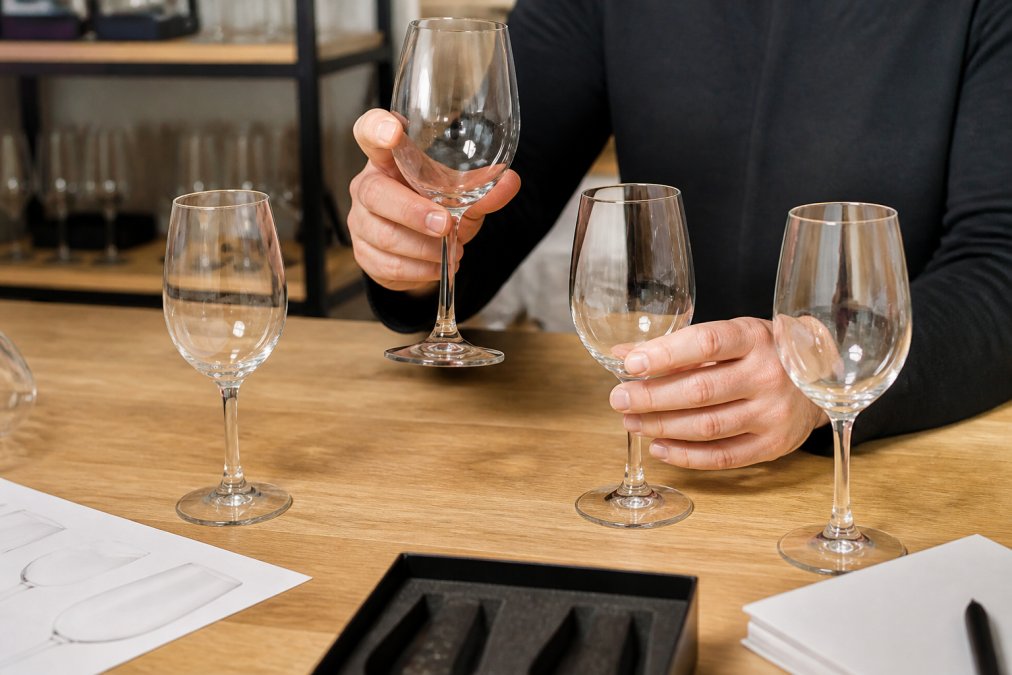
A physical sample shows what the final product will actually look and feel like. Digital proofs cannot convey the depth of an etch, the opacity of a print, or how light passes through the glass. A physical sample lets you run it through a dishwasher cycle, check the finish under bar lighting, and confirm the logo alignment on the curved surface. It is the only reliable way to verify durability claims before committing to a full production run.
How do I check for logo placement accuracy on curved glassware?
Ask your supplier how they handle artwork on curved surfaces. On cylindrical glassware, the design must be sized to account for the curve so it does not appear distorted. Check the proof against the physical dimensions of the glass: measure the flat area of the glass where the logo will sit. Confirm the distance from the rim and base. If your logo wraps around the glass, request a sample to verify the seam and alignment are correct.
What are the common pitfalls when reviewing glassware artwork proofs?
The most common pitfalls include approving artwork without checking the glass style, ignoring how colours appear on the proof versus the final product, and failing to verify spelling. Text errors are costly once production starts. Also watch for low-resolution logos that look sharp on screen but blurry at print size. Confirm the proof matches the exact glassware style you selected, as different shapes change how artwork sits.