 how-to
Custom Glassware Proofing: Step-by-Step Process
Table of Contents
- What Is Custom Glassware Proofing?
- Digital Proof vs. Physical Prototype: Which One Do You Need?
- Vector Artwork Requirements for Engraving
- The Step-by-Step Proofing Workflow
- Custom Beer Glass Minimum Order Requirements
- Custom Glassware Lead Times and Production Schedules
- Common Failure Points and How to Avoid Them
- Quality Assurance and Durability Guarantees
Last Updated: August 25, 2026
What Is Custom Glassware Proofing?
Custom glassware proofing is the approval process between design submission and production. It verifies that your artwork, colours, sizing, and engraving or etching will look exactly as intended before thousands of units are manufactured. The proofing stage protects your investment and brand reputation by catching design issues, colour mismatches, and technical problems before they become expensive mistakes.
At The Glassware Company, we treat proofing as a critical quality checkpoint. Small variations in artwork placement, sizing, or colour can significantly impact how your finished product looks in person. A digital proof shows how the design translates to the glassware surface. A physical sample lets you hold the product, test it under different lighting, and confirm it meets your expectations.
The proofing process typically involves two stages: digital approval (reviewing artwork placement, sizing, and colour matching) and optional physical sampling (inspecting an actual piece before committing to full production). Understanding which proofing method you need determines whether your custom glassware arrives exactly as envisioned or requires costly reprints.
Digital Proof vs. Physical Prototype: Which One Do You Need?
A digital proof is a computer-generated mockup of your design applied to the glassware surface. A physical prototype is an actual piece of glassware with your design applied using the same production methods as your full order.
Most orders benefit from digital proofing as the standard approval step. It's faster and less expensive, and sufficient when you're confident in your design specifications. For straightforward orders like corporate branded beer steins with a simple logo, digital approval is typically all you need.
Physical prototyping becomes essential when ordering custom glassware for the first time, when your design involves multiple colours or gradients, or when your financial commitment is substantial. Holding the actual piece under different lighting reveals details a screen cannot show.
Many customers use both: they approve a digital proof first to confirm the basic design, then request a physical sample to validate colour accuracy and final appearance before authorising full production.
Vector Artwork Requirements for Engraving
Vector artwork is the standard format for custom glassware engraving and etching because it produces clean, precise lines that scale perfectly without losing quality. Unlike bitmap images (JPEGs, PNGs), which become blurry when enlarged, vector files use mathematical curves that remain sharp at any resolution.
Submit artwork in Adobe Illustrator (.ai), Encapsulated PostScript (.eps), or Portable Document Format (.pdf). These formats preserve vector information and ensure accurate transfer to engraving equipment.
Colour specifications matter significantly. Submit artwork with Pantone colour matching references whenever possible. Pantone colours are standardised globally, allowing your supplier to match your intended colours precisely across batches. This prevents colour mismatches on reorders.
Your artwork should be designed at the actual size it will appear on the glassware. If your logo will be 5 centimetres wide, design it at 5 centimetres in your vector file. Most suppliers provide sizing guides specific to each glassware style.
Text in vector artwork must be converted to outlines or curves before submission. This ensures fonts render correctly even if your supplier doesn't have the exact font installed. Converting text to curves takes 30 seconds and eliminates substitution risks.
The Step-by-Step Proofing Workflow
The proofing workflow at The Glassware Company follows a structured five-step process that moves your design from submission through final approval before production begins.
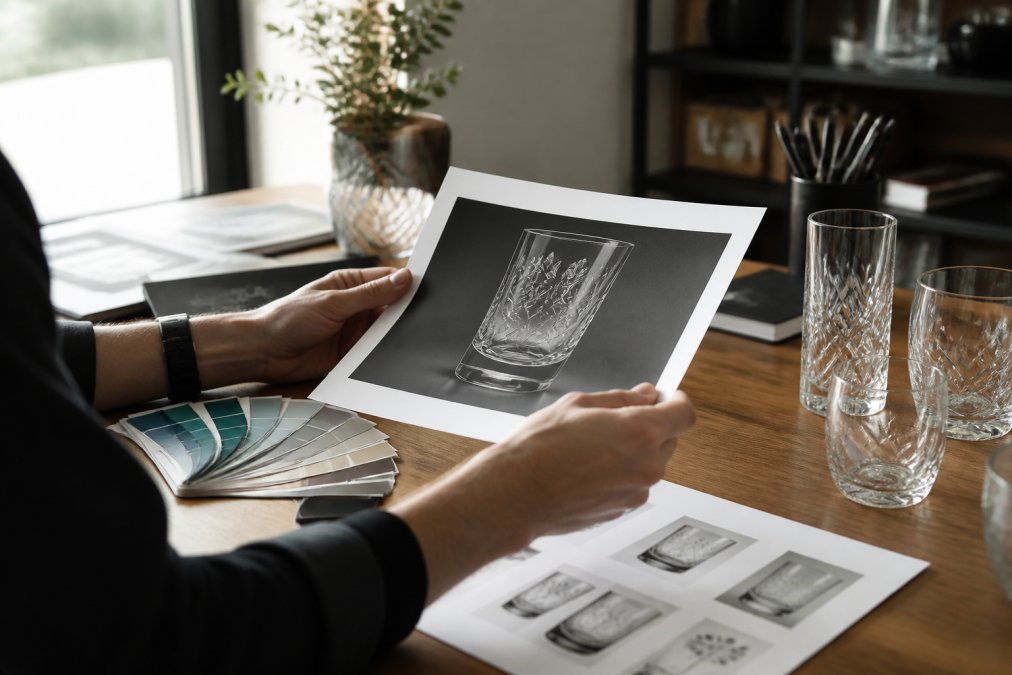
Step 1: Submit Your Design and Specifications
Provide your vector artwork file, glassware style selection, quantity, and special instructions. Include Pantone colour references, desired engraving or etching method (laser engraving, sandblasting, screen printing, or chemical etching), and positioning preferences.
Specify exact placement of your design on the glassware: centred on the front, wrapped around, or positioned near the base. Provide reference images or written descriptions to prevent misunderstanding.
Step 2: Receive Your Digital Proof
Within 2-5 business days, your supplier generates a digital proof showing your design applied to a photorealistic image of your chosen glassware. Review it carefully against your original brief. Does the logo sit where you wanted it? Are the colours correct? Is the text legible?
Open digital proofs on a calibrated monitor in good lighting to assess colours accurately. If colour accuracy is critical, compare the proof against physical Pantone colour swatches.
Step 3: Review and Request Revisions
If the digital proof doesn't match your requirements, request specific revisions. Instead of "the logo looks too small," specify: "increase the logo width from 3 centimetres to 4 centimetres." Clear, measurable feedback prevents endless iterations. Most suppliers allow 2-3 rounds of revisions at no extra cost.
Each revision typically takes 1-2 business days. Plan your timeline accordingly.
Step 4: Approve the Final Proof
Once the digital proof matches your requirements, provide written approval. This signals you've reviewed the design and are ready to proceed to production. Keep a copy of the approved proof for your records.
After approval, design changes become expensive. Read the approval carefully before signing off to ensure everything is exactly as intended.
Step 5: Physical Sample Inspection (If Required)
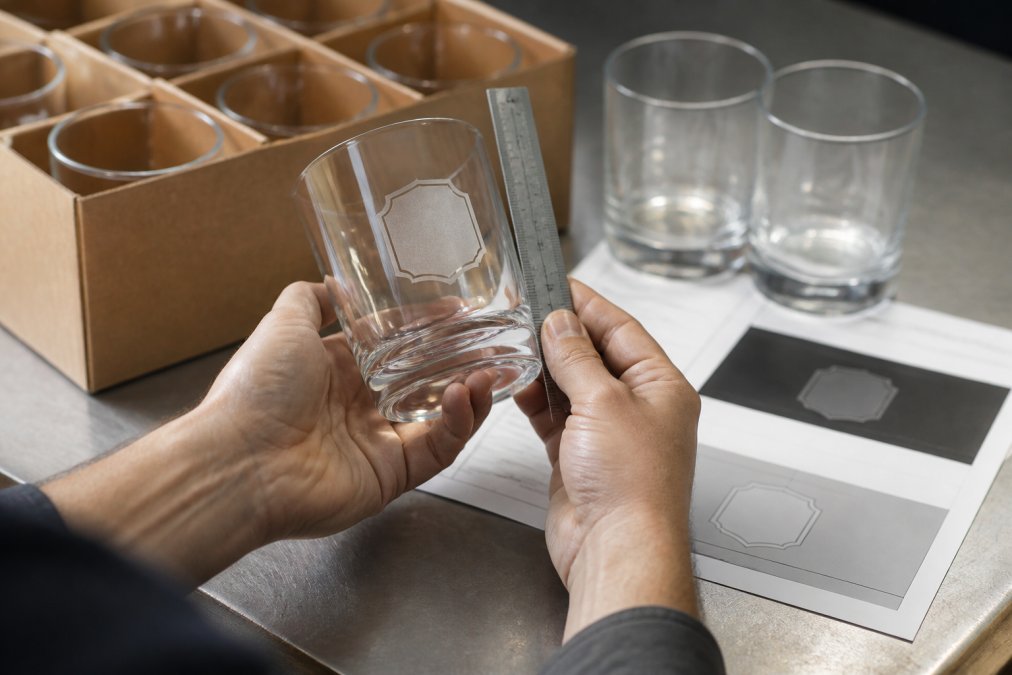
If you've requested a physical prototype, your supplier manufactures a single piece using the exact production methods for your full order. This sample arrives within 5-10 business days after digital approval. Inspect it thoroughly: hold it under different lighting, run your finger over the engraved surface, and assess colour accuracy in person.
Physical samples reveal details invisible in digital proofs. If the sample meets your approval, full production proceeds immediately.
Custom Beer Glass Minimum Order Requirements
Most suppliers set minimum order quantities to make production economically viable. For custom beer glasses, typical minimums range from 48 to 144 units, depending on the supplier and design complexity. Simpler designs with standard engraving often have lower minimums; complex multi-colour artwork may require larger quantities.
The Glassware Company works with clients across different scales. Whether you're a small brewery ordering custom branded steins for your taproom or a corporate events team sourcing glassware for a conference, minimum order quantities are structured to be accessible without forcing excessive inventory commitment.
If your initial order falls below a supplier's stated minimum, negotiate. Many suppliers offer flexibility for first-time orders or accept smaller quantities at a modest per-unit premium.
Custom Glassware Lead Times and Production Schedules
Production lead time typically ranges from 3 to 8 weeks for custom glassware orders, depending on design complexity, order quantity, and current production capacity. Simple orders with straightforward engraving may complete in 3-4 weeks. Complex designs involving multiple colours or specialised finishing can extend to 6-8 weeks.
Lead times vary by season. Summer months often see longer lead times due to increased demand for event glassware. If your event is scheduled during peak season, submit your order early.
Rush orders are possible but come with additional costs. A rush timeline might compress production to 2-3 weeks, but this requires your design to be finalised and approved immediately. Rush fees typically add 15-25% to your order cost.
Build lead time into your project planning. If your event is in six weeks, submit your design immediately. This gives you 2-3 weeks for proofing and 3-4 weeks for production, with a buffer for unexpected delays.
Common Failure Points and How to Avoid Them
Several predictable mistakes emerge repeatedly in custom glassware proofing.
Colour mismatches occur when digital proofs are reviewed on uncalibrated monitors or in poor lighting. Avoid this by reviewing proofs on a calibrated monitor, comparing them against physical Pantone colour swatches, and requesting a physical sample if colour accuracy is critical.
Artwork positioned incorrectly happens when designers don't account for the three-dimensional nature of the product. A logo that looks centred in a flat mockup might appear off-centre when wrapped around a cylindrical glass. Request detailed positioning guidance and review the digital proof carefully.
Text that's too small to read emerges when designers scale artwork down without testing legibility. Request a physical sample if your design includes text smaller than 5 millimetres in height.
Design files submitted in the wrong format delay production. Bitmap images (JPEG, PNG) cannot be engraved cleanly; vector files (AI, EPS, PDF) are required. Confirm your design is in the correct format before submitting.
Approving designs without thorough review leads to surprises during production. Take time to examine the digital proof in detail. A few minutes of careful review prevents weeks of regret.
Underestimating lead times creates stress and forces expensive rush orders. Submit your design early and build in buffer time.
Quality Assurance and Durability Guarantees
Quality assurance in custom glassware production involves multiple inspection points: design verification, surface finish inspection, colour accuracy checks, and durability testing. Your supplier should inspect every batch for defects before shipment.
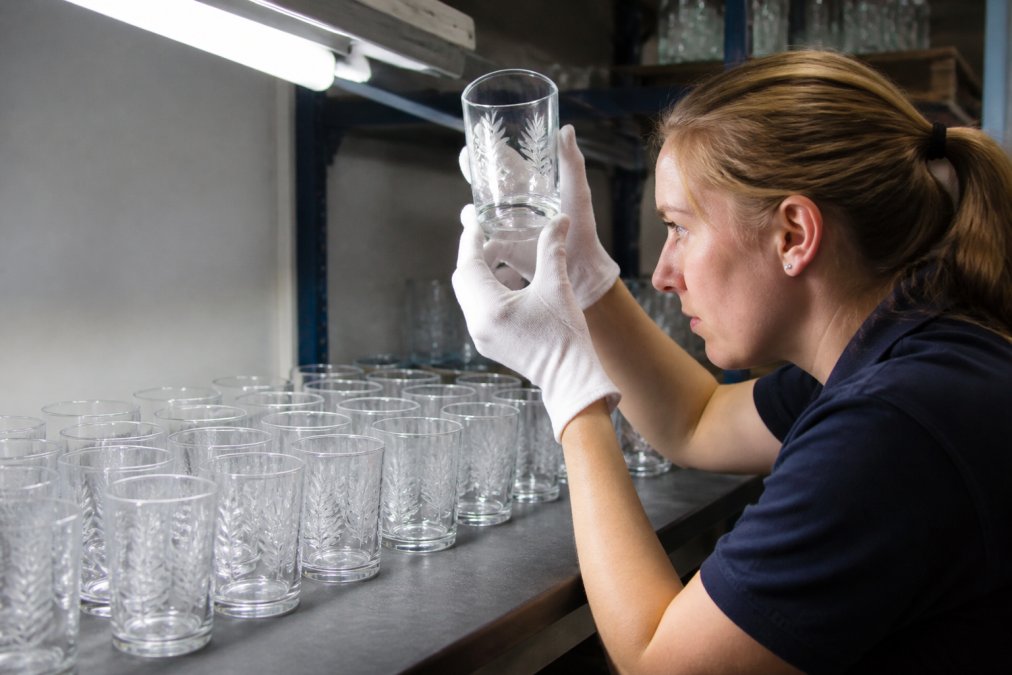
Durability guarantees typically cover defects in materials and manufacturing, but not damage from misuse. A properly etched or engraved surface should withstand regular dishwashing without fading. Chemical etching creates permanent marks in the glass surface itself, making it virtually indestructible. Laser engraving produces durable marks that resist fading.
Ask your supplier about their specific durability guarantees. Some offer guarantees against fading for 2-3 years under normal use. Understanding these guarantees helps you set customer expectations.
The Glassware Company maintains rigorous quality standards throughout production. Each custom order is inspected for design accuracy, surface finish quality, and colour consistency before dispatch. This commitment ensures your glassware arrives as approved in the proofing stage.
Ordering custom glassware without a thorough proofing process is like launching a marketing campaign without testing your message. The proofing stage validates every detail, artwork, colour, sizing, positioning, before committing to production. The Glassware Company guides you through each step, providing digital proofs, physical samples, and expert feedback to ensure your custom glassware arrives exactly as envisioned. Get started with a quote today and experience how professional proofing transforms your vision into a product that makes a lasting impression on your clients, guests, and team.
Frequently Asked Questions
What is the difference between a digital proof and a physical sample for custom glassware?
A digital proof is a visual representation of your design on the glassware, showing placement, size, and colour without creating an actual product. A physical sample is an actual piece of glassware with your design applied, allowing you to assess how the etching, engraving, or printing looks in real life, how it feels, and how durable it is. Most projects start with a digital proof for fast feedback; physical samples are requested when design validation is critical or for bulk orders where consistency matters.
What vector artwork requirements apply to custom glassware engraving?
Vector artwork must be provided in formats like AI, EPS, or PDF with all fonts converted to outlines. Artwork should have a minimum line weight of 0.5pt and be at 100% black for clarity. Avoid fine details smaller than 2mm, as they may not engrave crisply. Provide artwork at the actual size it will appear on the glassware, and ensure all elements are properly grouped and locked to prevent accidental movement during production setup.
How long does the custom glassware proofing process typically take?
Digital proofing usually takes 3-5 business days from design submission. Physical sample creation adds 7-10 business days once the digital proof is approved. Overall proofing turnaround depends on complexity, current production capacity, and whether revisions are needed. Rush proofing is often available at an additional cost. Contact The Glassware Company for current lead times, as these vary by order volume and season.
What happens if I find errors in my glassware proof before production?
Most vendors, including The Glassware Company, allow unlimited revisions during the proofing phase at no extra cost. Simply flag the errors in your feedback, whether placement, sizing, colour, or text, and the design team will adjust the proof. Once you approve the final proof in writing, production begins. After production starts, changes typically incur additional fees or may require a new order, so careful proofing review is essential to avoid costly corrections later.
This article was written using GrandRanker